As a parent of a young talent, you want to ensure your child has every opportunity to succeed in acting auditions. One of the best ways to help them stand out in the casting process is by submitting a high-quality self-tape.
Self-tapes have become a staple in the entertainment industry, especially for casting agents looking to review a child’s performance without the need for in-person auditions. While this can be exciting, it can also feel overwhelming for parents who are unfamiliar with the process. But don’t worry—creating a great self-tape at home is absolutely doable with the right approach.
In this guide, we’ll walk you through everything you need to know about self-tapes for kids, from the equipment you need to the common mistakes to avoid. With these tips, you can create a professional self-tape that shows off your child’s acting talent while making the process as smooth and enjoyable as possible.
1. Understanding the Importance of Self-Tapes for Kids
In today’s fast-paced entertainment world, casting agents and talent agencies often prefer self-tapes for initial auditions, especially for children. These recordings give casting directors the opportunity to review your child’s performance from the comfort of their own office and eliminate the need for travel and scheduling conflicts. Plus, it allows your child to audition from home, where they feel most comfortable and confident.
For parents, this means more opportunities for their child to be seen by casting professionals—without leaving the house! A great self-tape can even help get your child’s foot in the door for larger roles.
2. Setting Up Your Home Studio
Equipment You’ll Need:

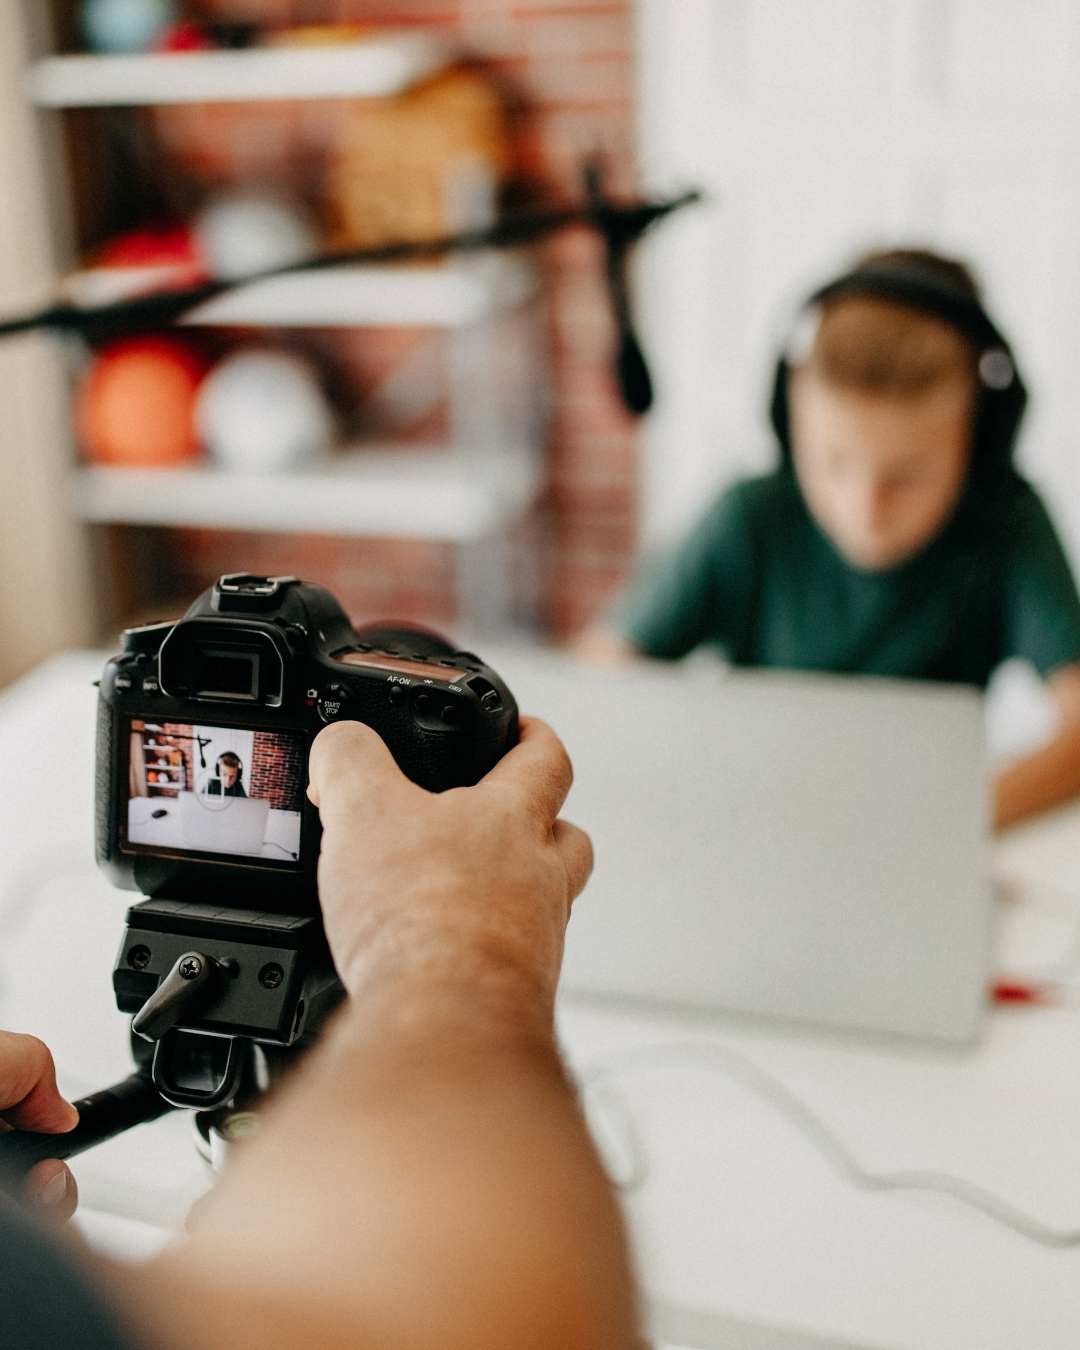
Camera/Smartphone:
You don’t need an expensive camera to create a great self-tape. Most smartphones today have excellent video quality, so using your phone’s camera is perfectly fine. Just make sure it’s steady and in a position where your child’s performance is clear and visible.
Tripod or Stable Surface:
Keep the camera steady by placing it on a tripod or a flat surface. This ensures a smooth shot and prevents distractions from wobbly video.

Lighting:
Good lighting is crucial for self-tapes. Aim for soft, natural light if possible—set up near a window or use inexpensive softbox lights to brighten the area. The goal is to illuminate your child’s face clearly, with no harsh shadows.

Microphone (Optional):
While most smartphones have decent microphones, you can also use an external microphone if you have one. Clear sound is key for capturing your child’s performance and dialogue.
Creating the Right Environment:
- Choose a quiet, distraction-free space. A simple, neutral backdrop works best—avoid cluttered rooms or distracting decorations.
- Make sure there are no loud noises in the background that might interfere with the audio. For example, turn off the TV or dishwasher before filming.
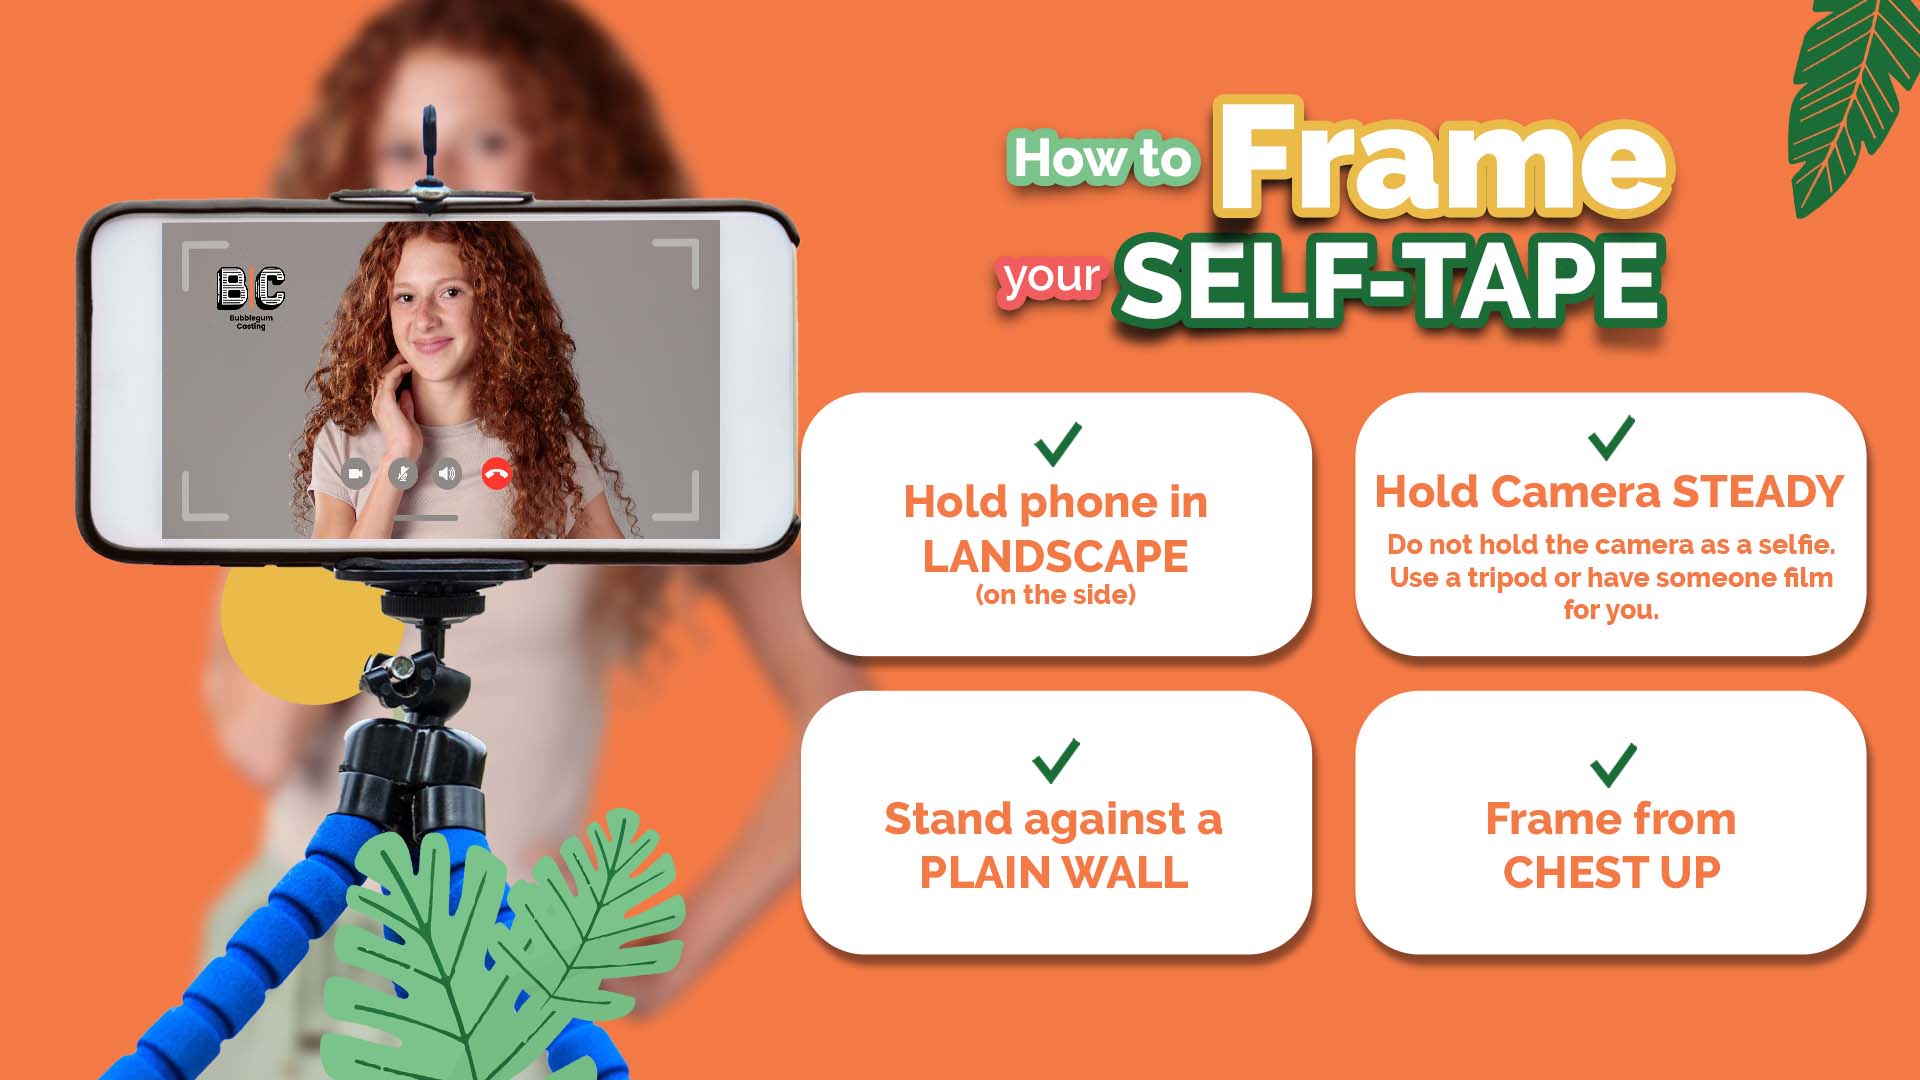
3. Framing Your Child
Positioning the Camera: One of the most common mistakes parents make when recording self-tapes is poor framing. To showcase your child’s performance, aim for a medium shot (from the waist up) to ensure their face and expressions are visible. If the shot is too tight, you’ll miss their body language; if it’s too wide, the performance can feel distant and disconnected.
Eye-Level: Position the camera at eye level with your child. This helps create a more natural, engaging shot and avoids awkward angles that can make the video feel less professional.
Space: Leave a little bit of space above your child’s head, but avoid cutting off any part of their body. They should feel comfortable in the frame without feeling cramped.
4. Helping Your Child Prepare for Their Self-Tape

Understanding the Material: Before you hit record, make sure your child fully understands the script or scene. If they’re still learning their lines, help them rehearse—this will make them feel more confident and prepared.

Keep It Natural: Remind your child that their performance should feel as authentic and natural as possible. Over-rehearsed or stiff performances can come across as less genuine. Encourage them to connect with the character and the emotions they’re portraying.

Rehearsing the Take: Allow your child to do a few practice runs before filming. You can even run through the scene with them as a partner if the script calls for one. Just make sure they feel comfortable and aren’t rushing through the scene.
5. Recording the Self-Tape
Multiple Takes: Don’t be afraid to film a few takes. In fact, it’s a good idea to have a couple of options to choose from. When recording, make sure you’re patient with your child and allow them to feel comfortable. Sometimes it takes a few tries before they truly feel “in the zone.”
Stay Focused: Help your child stay engaged by providing clear directions without being too distracting. If they’re unsure of a line or moment, remind them to pause, reset, and try again.
**Be mindful of the time limit—some self-tape submissions may have specific length requirements for the audition, so be sure to follow those guidelines.
6. Editing the Self-Tape
While you don’t need to be a professional editor to create a great self-tape, a few simple edits can improve the quality of your video. If your child flubs a line, you can easily cut that part out and keep the best take. However, make sure the edit feels natural and doesn’t disrupt the flow of the performance.
Tips for Editing:
Trim the beginning and end:
Cut out any extra time before or after the performance to make the video feel polished.
Don’t Overdo It:
Avoid using distracting filters or effects. The goal is to showcase your child’s talent, not add flashy elements that take away from the performance.
File Format:
Ensure the video is in a casting-friendly format, such as MP4, and follow any size and duration instructions given by the talent agency or casting director.
7. Submitting the Self-Tape
Once your child’s self-tape is ready, it’s time to submit it. Double-check the submission guidelines given by the casting director or talent agency. They might ask for specific file formats, email addresses, or upload platforms.
Make sure you include all the necessary details, like your child’s name, age, contact information, and any other requested documents (such as a headshot or resume).
Creating a self-tape for your child might seem like a lot of work, but with these tips, you can easily set up a professional-looking audition in the comfort of your own home. Remember, casting directors want to see your child’s personality and talent, so keeping things simple, natural, and clear is the key to a successful self-tape.
At Bubblegum Casting, we know how important it is to get these small details right. With a little preparation and a lot of care, you’ll be helping your child take the first step towards their acting dreams. And most importantly, enjoy the journey—it’s all about helping your child shine in a way that feels true to them.
Ready to start your child’s acting journey? Contact us at Bubblegum Casting today to learn how we can help guide your young star to success in acting auditions!