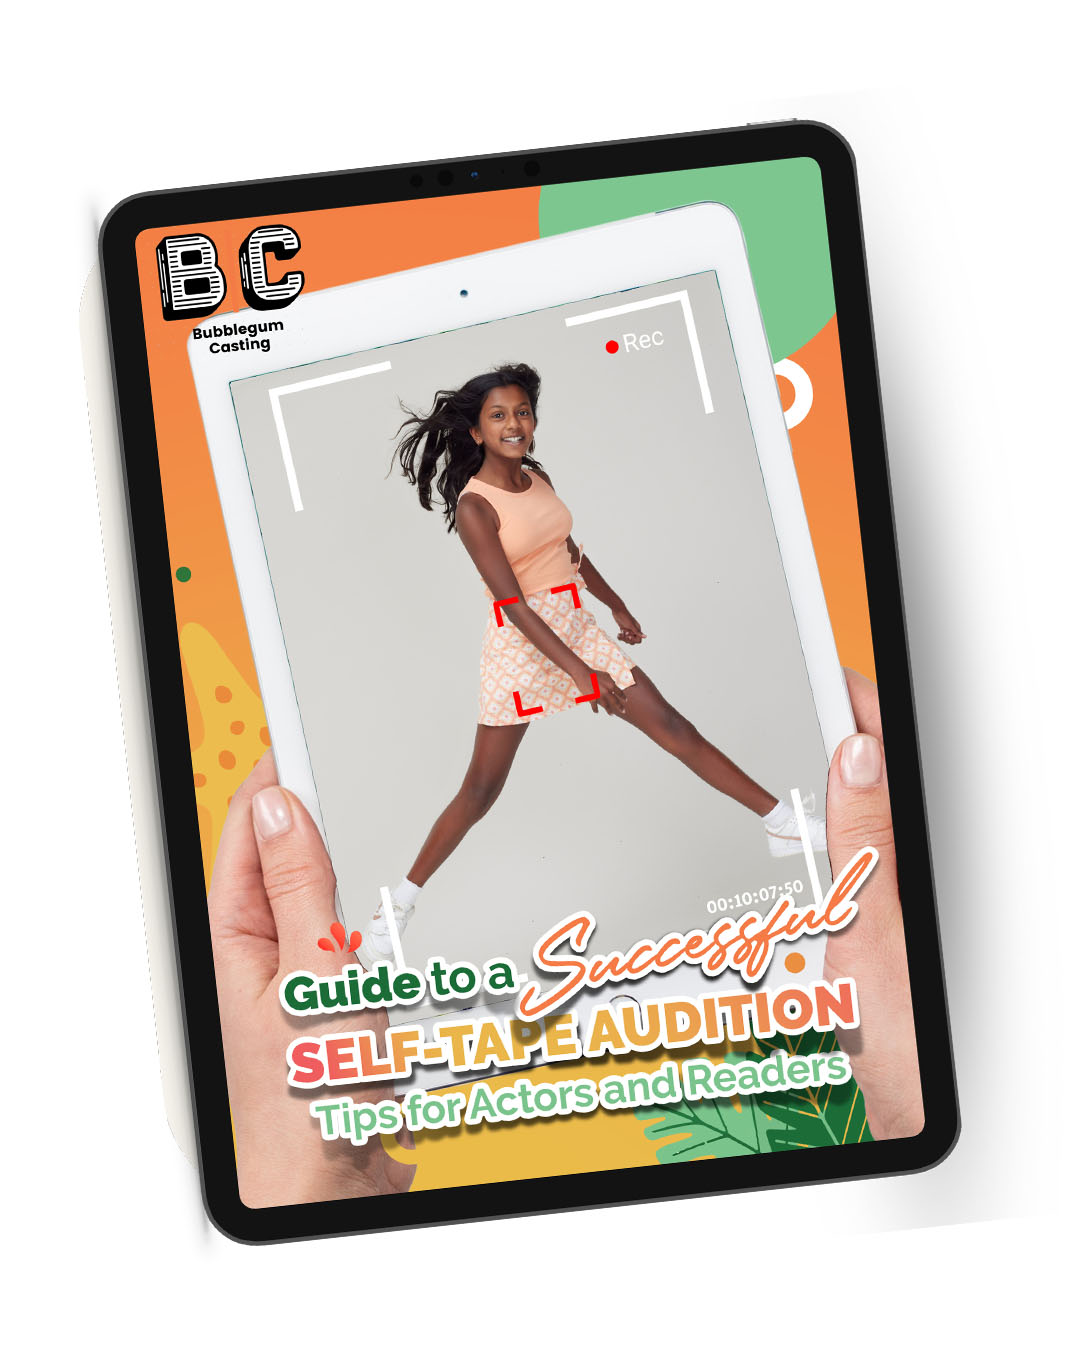
How to Film a Self Test That Rocks
If you or your child is new to the acting scene, you’re going to encounter many unfamiliar terms, one of which is ‘ the self test’ or ‘the self tape audition.’ While you might guess what this term means, let’s clarify it to ensure you’re fully prepared for your acting journey.
What is a self test and why are self-tape auditions so popular?
A self test (sometimes called a self tape or self tape audition) is when you record an audition at home and then send it to the casting director who can then view it at their leisure. This is a win-win situation for both the casting director and the aspiring child or teen actor for a number of reasons.
Casting directors are very busy people (try calling one!) and this type of audition cuts down a lot on the time required to set up and host auditions. They get a higher volume of applicants which gives them greater options when casting the role and the auditions are often better quality than those carried out in person.
Self tape auditions have risen in popularity during the pandemic, providing actors with an exciting opportunity to showcase their talents remotely.
For child and teen actors, it eliminates a lot of the nervousness and stress involved with auditioning in front of a room full of adults. It also gives them an opportunity to review their audition and reshoot it if they feel it’s not up to scratch.
But the biggest advantage of self test auditions is that they level the playing field. Kids can audition for a role regardless of their study commitments or location giving everyone their chance at stardom.
Of course, this means that since a lot more actors might send in self tests, you or your child will face more competition to land the role. With that in mind, knowing how to film a self test that rocks is a must for any serious young actor, so keep reading to find out exactly what you need to do.
What equipment do you need for a self tape set up?
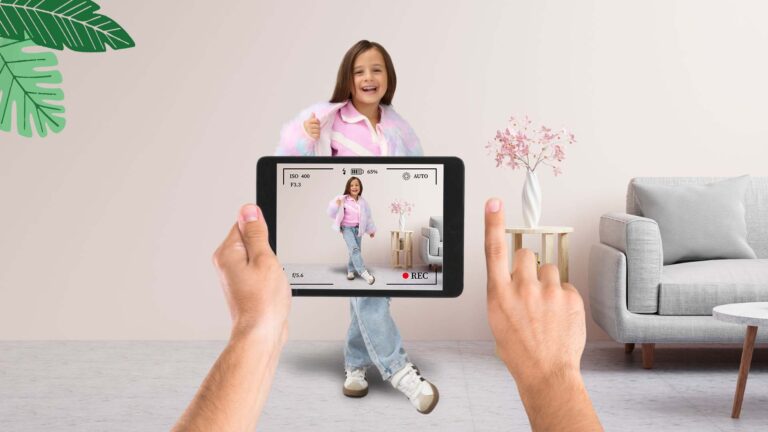
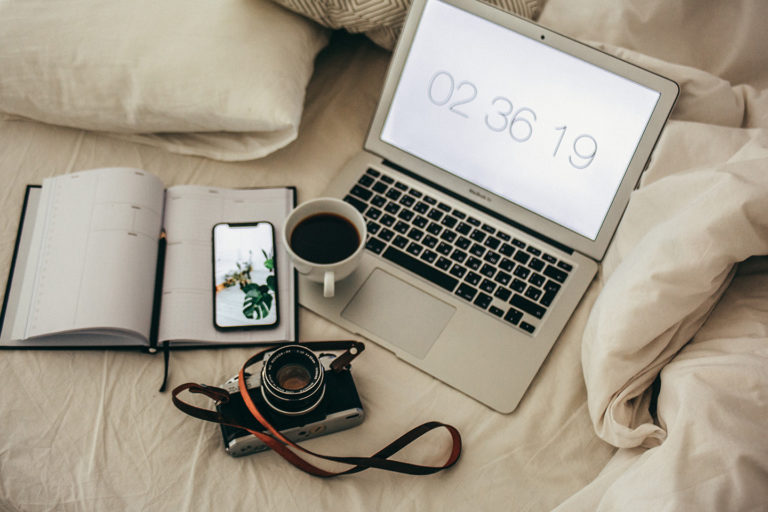
Self tests are generally filmed at home or a studio set up for the purpose. To film yours at home you’ll obviously need a camera to record the scene. But you don’t need an expensive one.
The truth is that smartphones and iPads are pretty good at filming these days so you should try yours out first to see if it’s up to the task before spending any money. A well-thought-out self tape set up is crucial for ensuring the quality of your video, as it heavily depends on various production elements.
Having said that, if you’re going to do a lot of self tests, then you might want to invest in a DSLR camera. They’re not too expensive, and for busy models and actors, they’re worth the investment. Besides, it can double as the family camera for all those magic moments you want to record.
Whether you’re opting to use your iPhone or a DSLR camera, you should have a tripod that can keep the camera at eye level. If you already have a small one, just put it on a table.
As well as a camera and tripod you’ll need some kind of background screen. Professionals recommend using a blue background rather than a white one as it’s the industry standard. You can pin up a blue bed sheet or large piece of paper, or you can even buy a cheap blue photography screen online.
And last but by no means least, you’ll need to have decent lighting. For the best results, you want either all natural light (with the help of a reflector) or all lamp lights (basic LED film lights). The reason you need one or the other is that a combination of the two will make the lighting look a little off and this could possibly distract the casting director. You want them focused on the performance and not the poor lighting.
What do you wear to film a self test?
The audition tape is a very casual and relaxing way to audition, but that doesn’t mean you can film one in PJs! You have to put a bit of thought into what you wear as the right clothing can complement your features and enhance the overall presentation quality. Not only that but wearing clothing that hints at the character you’re playing will enhance your performance and prove to the casting director that you’ve read the script and understand the role. (Something we mentioned in our last post on prepping for an audition.)
These may seem obvious but here are a few common sense tips:
- Don’t wear blue clothing if you’re filming against a blue background. (the same goes for white backgrounds)
- Don’t wear clothes that are highly patterned as it can distort on camera.
- Don’t wear anything that will draw the casting director’s attention. (Ditch the dinosaur t-shirts)
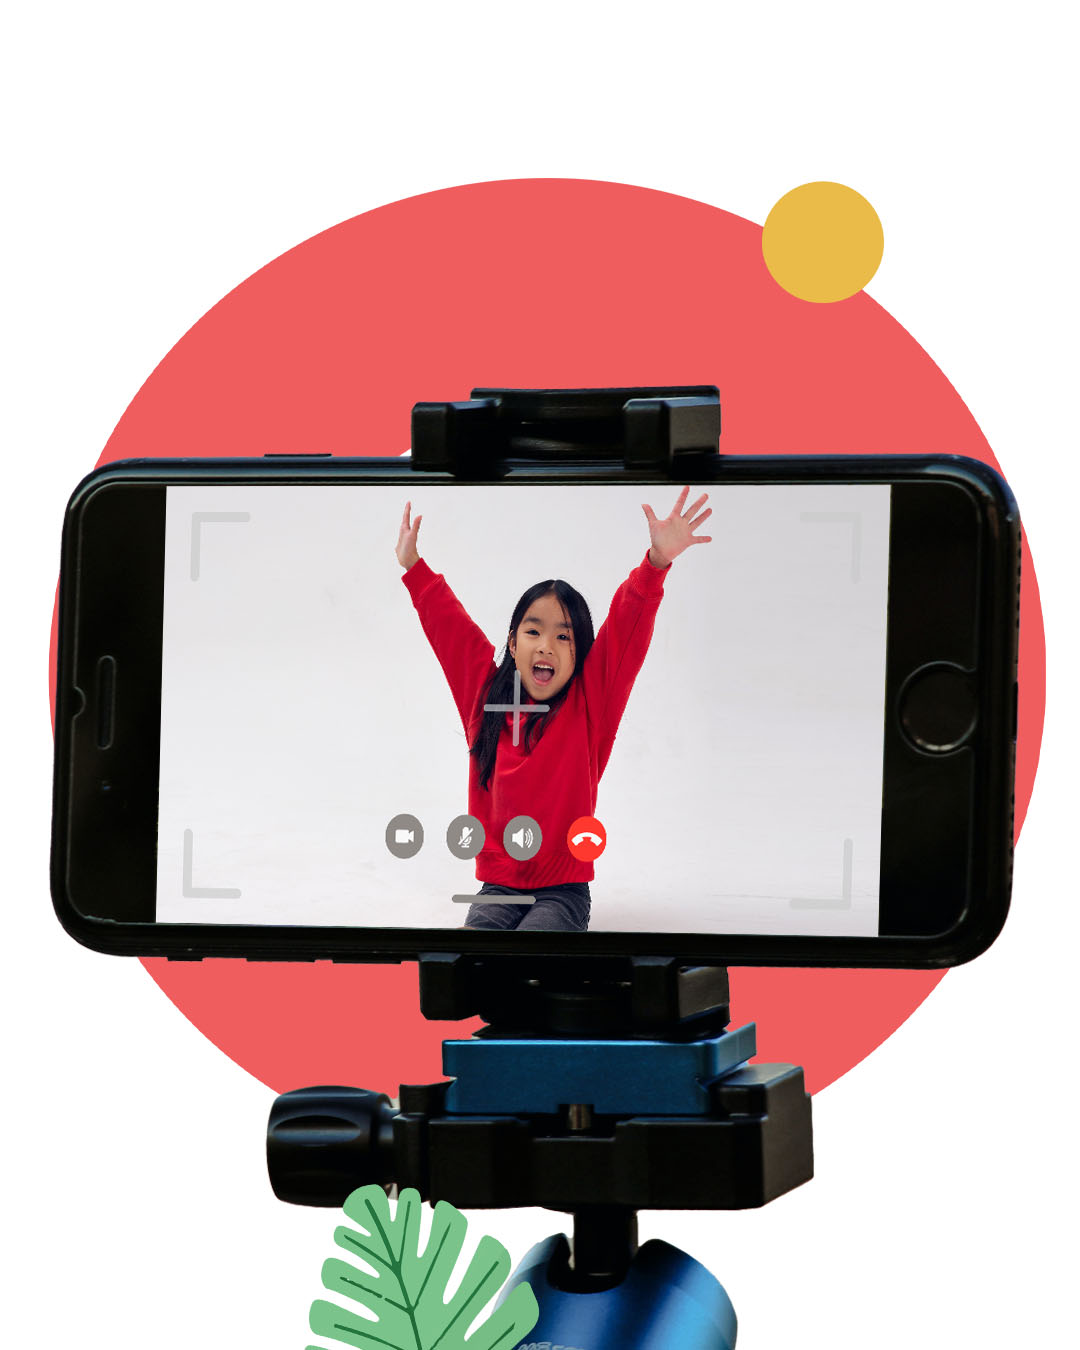
Do you need a reader to help you with lines?
A reader or audition reader is an actor who reads the lines of other characters during an audition. When actors film self-tapes, which are pre-recorded video auditions submitted to casting directors, a reader is essential. In a traditional audition they are essential, so it stands to reason that you’d need one for a self test.
Parents can help out their children with this but remember mums and dads; it’s always preferable to have the reader be the same sex as the character they are reading. This makes the reader less of a distraction for the casting director. And remember what we said about where we want the focus! It’s all about the actor, so try not to get too into your role as the evil villain or the wicked neighbour.
If you’re an aspiring teen actor who can’t find anyone to help out as a reader, you can record the lines yourself and play them back on your iPhone or iPad when you’re filming your self test. Ideally though, you’ll wait until someone is available as having another person read the lines is more professional.
Position your reader quite close to the camera but off to one side, so you’re not tempted to look directly into the camera lens – this is a big no-no when you film a self test. That’s right, unless it’s specified to do so, the actor should never look directly into the camera.
How many takes should you record?
Being satisfied with just one take of a self test is a bit over-confident, whereas more than four takes and you run the risk of being over-critical of your own work. Somewhere in the middle, two to four takes of a scene, is recommended.
This gives you the chance to film one or two, watch them back, and film one or two more, to implement any changes you might want to make. Standardizing the self tape process ensures quality and consistency in both in-person and remote auditions.
How Long Should a Self-Tape Be?
A self-tape should typically be between 1 to 2 minutes long. It’s important to keep it concise, focusing on delivering your best performance within that timeframe. Avoid overly long tapes, as casting directors prefer to see the essence of your talent quickly.
What editing software do you need?
A basic editing programme, such as iMovie, is all you need if you have a Mac. Alternatively, Adobe’s Premiere Pro or Apple’s Final Cut Pro are also pretty decent options.
Simply choose your best takes and open in your editing software. At the beginning add a slate (blank slide) that has your name, agent, height, and the role and production the audition is for. Fade into the first scene, in between all scenes, and at the end add a fade to black. It might sound difficult, but with modern video editing software, it’s quite easy to handle. However, producing high-quality self-taped auditions can be challenging due to tight deadlines, unreasonable expectations, and the pressure to capture attention quickly.

How do you send off your self test to casting directors?
The size of your self test will depend on the specs your agent or casting director has given. Adhering to the casting director’s instructions is crucial, as specific requests can vary significantly. So when you save the self test be sure to render the video to these specs.
They may be ok with a file size of 100mb to 200mb, or maybe they want something around 50mb. Pay attention to their instructions as you don’t want any hiccups before they’ve even seen the video.
Do Casting Directors Watch All Self-Tapes?
Casting directors often receive a large number of self-tape auditions, so while they strive to watch as many as possible, they may not watch every single one from start to finish. However, if the initial seconds capture their interest, they are more likely to watch the entire tape.
Your file will still be too big to send through email so you’ll need to send it via a programme that allows you to send or share large files. Dropbox, Google Drive, and Hightail are all recommended programmes for sending self test files, and we recommend using only these. Casting directors don’t want to, nor should they need to create a new account for some obscure file-sharing site just to see a self test video. This is a surefire way to get off on the wrong foot; you have been warned!


Filming your child’s self test (or your own if you’re a teen) gives you the chance to perfect the scene before sending the file through to the casting director. It’s that second, third, and even fourth chance to master a scene that gives a young actor a great chance to compete with others who may have years of practice in the industry. It’s also ideal in that it gives you time to think carefully about clothing, lighting, and even camera position; all the aspects that if planned just right, can turn an average performance into a stellar self test.
Lights, camera, action!